How to configure the new Bitdefender BOX if you’re using an ISP-provided router
1. Open the Bitdefender Central app.
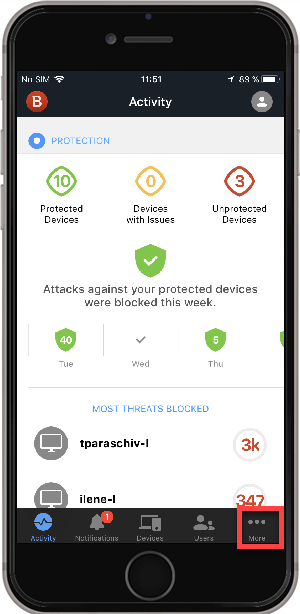
2. Tap on the More button.
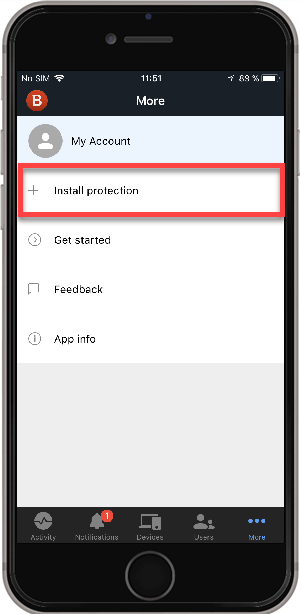
3. Tap on Install Protection.
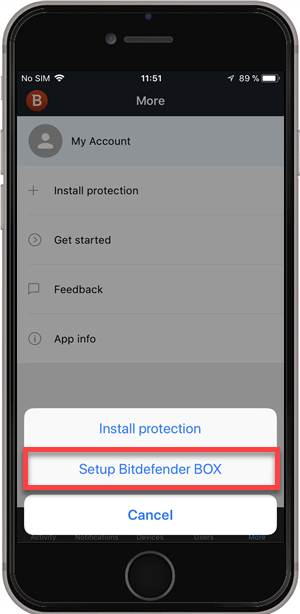
4. Tap on Setup Bitdefender BOX.
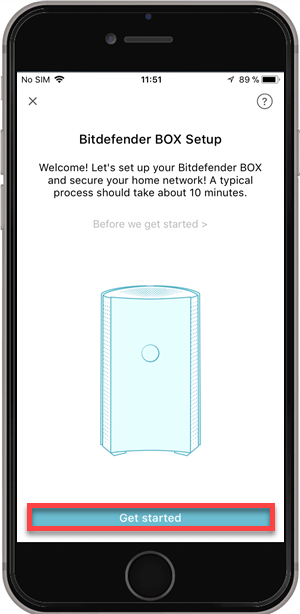
5. Tap on Get Started.
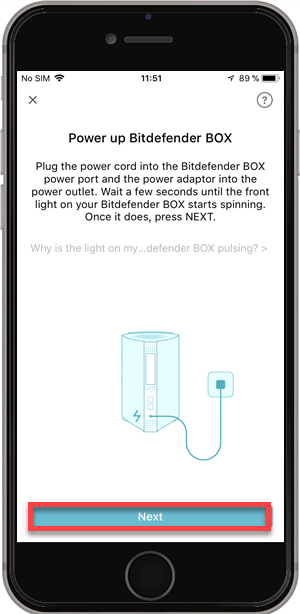
6. Power up your BOX by plugging the power cord into the power outlet. After that, tap on Next.
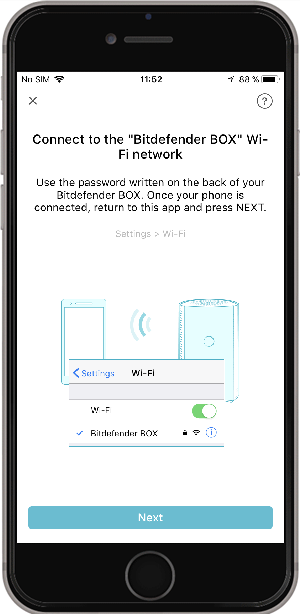
7. Next, connect to the BOX WiFi network. Once your phone is connected, press Next.
NOTE: To connect, use the password written on the back of your Bitdefender BOX.
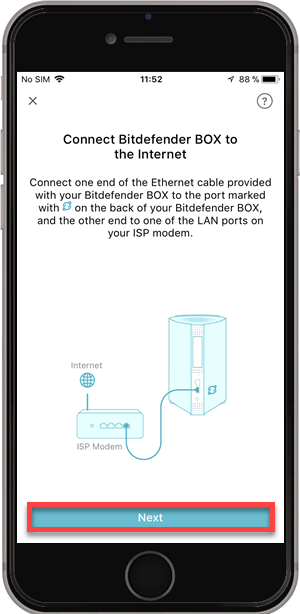
8. Connect BOX to the Internet, then tap on Next.
To gain access to the internet, connect one end of the Ethernet cable provided with Bitdefender BOX to the port marked with  on the back of your BOX, and the other end to one of the LAN ports on your ISP modem.
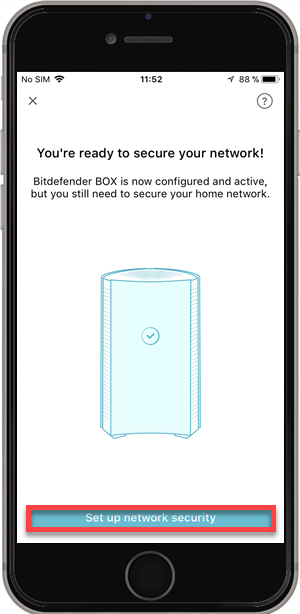
9. After that, you will have to secure your network. Tap on Setup network security.
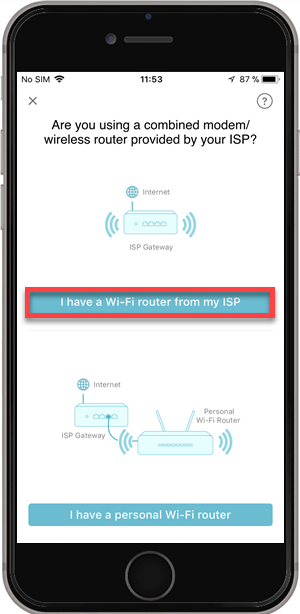
10. Select I have a WiFi router from my ISP.
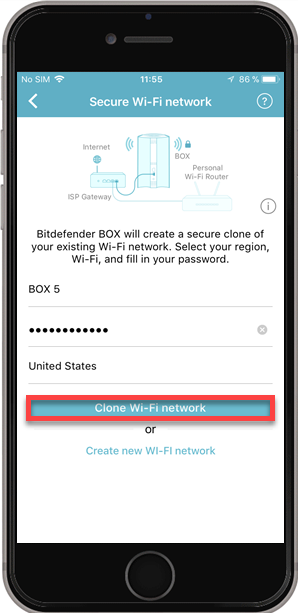
11. Next, the app will show you a list of all WiFI networks available in your proximity. Select your WiFi, type the password in the corresponded field , choose your region, then tap on Clone WiFi network.
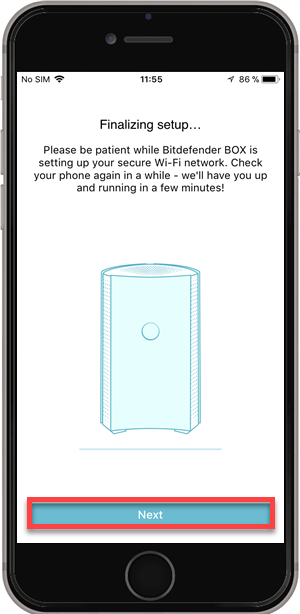
12. The setup will then be finalized by pressing Next.
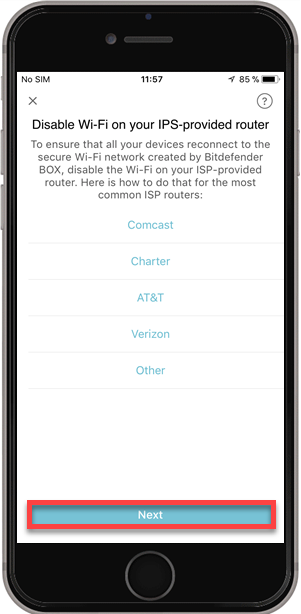
13. Disable the WiFi on the router you received from your ISP, so that all your devices reconnect to the secure WiFi network created by BOX, then tap on Next.
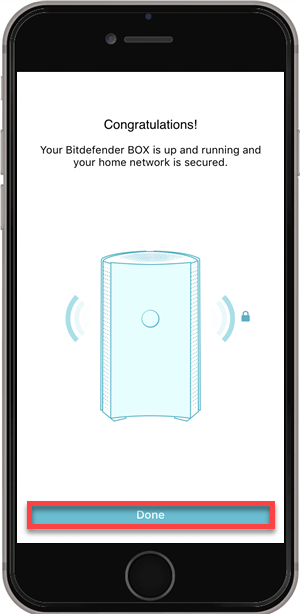
14. Your Bitdefender BOX is now configured. Tap on Done to finalize the process.